The difference between a $10,000 repair and a $35,000 replacement is not how bad the wall looks. It is whether the panels are still doing their job.
A wall can be stained, cracked at the cap, and visually alarming while remaining structurally sound — that is a repair. A wall can look almost pristine from a boat while the tiebacks behind it have corroded through — that is a replacement. Appearance and condition are only loosely related, which is why homeowners get quotes that differ by a factor of three.
Here are the four tests that actually decide it.
Test 1: Is the wall vertical?
Stand at one end and sight down the face of the wall. Better: drop a plumb line from the cap at three or four points along the run.
Any measurable outward lean is structural. A seawall does not lean because of surface damage. It leans because the tiebacks that anchor it to deadmen behind the wall have stretched, corroded or pulled through, or because the soil at the toe has scoured away and the base has kicked out.
Neither of those is repairable by sealing the front face. A leaning wall is on a clock, and the clock is not long.
A useful benchmark: more than one inch of lean over a four-foot wall height means the anchoring system has already failed, whatever the front of the wall looks like.
Test 2: Are the panels sound, or just leaking?
This is the central question, and the two failure types look similar from the lawn.
Leaking means the panels are intact but the joints between them, or penetrations through them, are letting soil escape with each tidal cycle. The lawn sinks, voids form, but the structure itself is fine. This is the repairable case, and polyurethane injection plus joint sealing genuinely solves it.
Failing means the panel material itself has gone. On concrete walls, water reaches the reinforcing steel through cracks, the rebar rusts, rusting steel expands and cracks more concrete, and the cycle accelerates. Once that process is well established, the panel loses its structural section and no coating stops it. On vinyl walls, panels crack from impact or thermal movement, and a cracked panel does not heal.
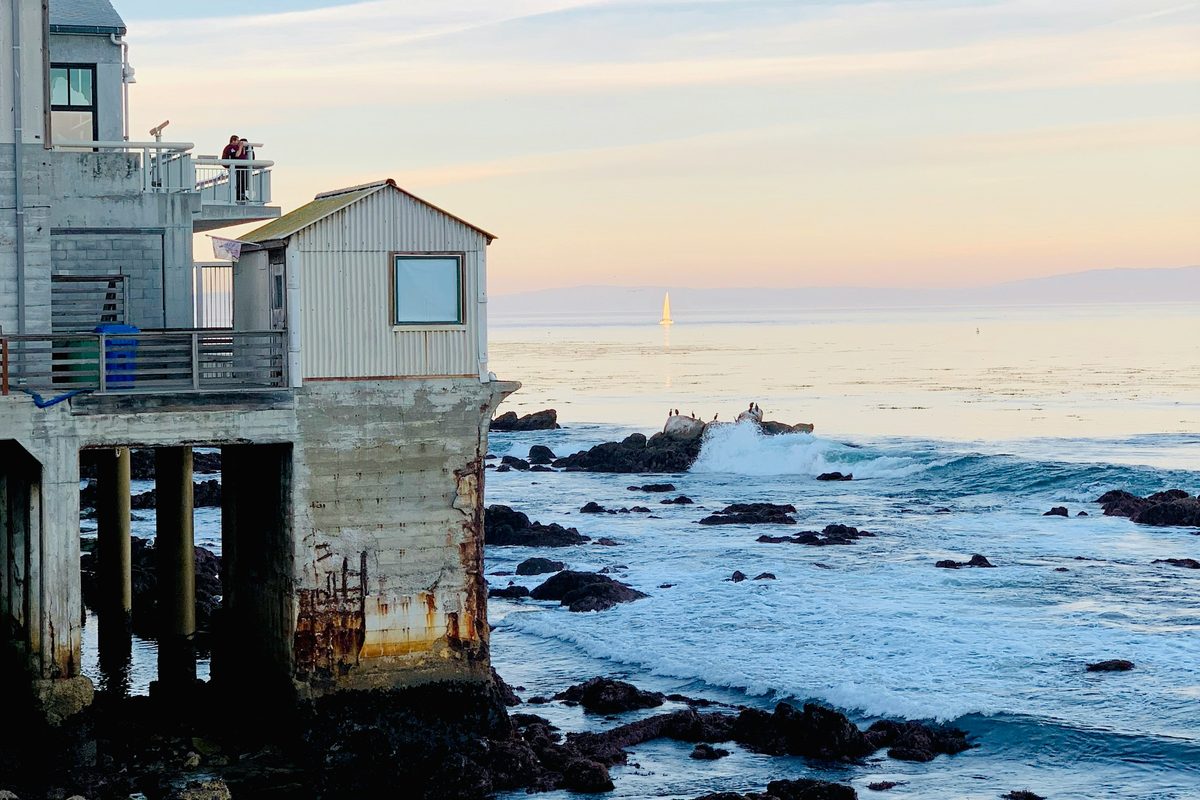
How to tell them apart without an inspection: look for rust staining and spalling. Brown streaks running down the face and concrete flaking off in sheets mean the rebar is already corroding. That is failing, not leaking.
Test 3: What is the cap doing?
The cap is the concrete beam along the top of the wall. It ties the panels together and takes the load from whatever is behind it.
- Hairline cracks, no displacement — cosmetic, monitor.
- Cracks that have opened past about a quarter inch, or that you can see through — the cap has moved. Something below it moved first.
- Cap separated from the panels, or a visible gap behind it — soil has left, the cap is spanning a void.
- Cap sections at different heights — differential settlement. Structural.
A cap can be replaced on its own for $30 to $150 per linear foot, which is the cheapest meaningful intervention available. But replacing a cap on top of failing panels is money set on fire.
Test 4: How old is it, and what is it made of?
Age alone does not condemn a wall, but it changes the odds considerably.
Concrete seawalls built on this coast before roughly 1990 were frequently poured with less rebar cover than current practice requires. In a saltwater environment, cover is what buys time — chloride reaches steel faster through thin cover, and once it does, the deterioration cycle starts. A 35-year-old concrete wall on the lagoon is not automatically finished, but it deserves a genuine inspection rather than an optimistic one.
Vinyl walls fail differently. They do not corrode at all, which is their main advantage. But they can crack from boat impact or thermal cycling, and a cracked vinyl panel passes soil just like an open joint.
The decision, in one table
| Finding | Verdict |
|---|---|
| Soil loss through joints, wall vertical, panels sound | Repair. Injection and joint sealing |
| Cap cracked, panels and alignment sound | Repair. Cap replacement |
| Rust staining and spalling across multiple panels | Replace. The corrosion cycle is established |
| Measurable outward lean | Replace. Anchoring has failed |
| Voids that return within 2 years of a previous repair | Replace. The cause was never addressed |
| Panels sound, toe scoured | Repair, but urgently — this becomes a lean |
The trap: repairing the same wall twice
The most expensive outcome we see is not replacement. It is two repairs and then a replacement.
It happens when the first contractor addresses the visible symptom — fills the sinkhole, seals the crack the homeowner pointed at — without establishing where the soil is actually going. Eighteen months later the lawn sinks again, in a slightly different place. The homeowner concludes the first contractor did poor work, hires a second, and repeats the cycle.
Both repairs were probably executed competently. Neither was diagnostic. If a void returns after a repair, the question is not “was the injection done properly” but “what is still open that we did not find”.
The economic question nobody asks first
Before any of the technical tests, there is a financial one: how long are you keeping the property?
A wall with an estimated eight years of remaining life is:
- A repair decision if you are selling within three years. Spend the minimum to stop active soil loss, document it properly, and let it be the next owner’s project — with full disclosure.
- A replacement decision if you are staying fifteen years. Two repairs plus an eventual replacement will cost more than replacing now, and you will have lived with an uncertain wall the whole time.
Neither answer is more virtuous. But the technical inspection cannot answer it for you, and any contractor who quotes without asking is not thinking about your situation.
What we look at
The free inspection covers all four tests above: plumb readings along the run, panel condition and rust staining, cap displacement, weep hole function, and visible toe condition. You get the findings in writing, with photographs, and a clear statement of which category your wall falls into.
If the answer is “repair”, we quote the repair. If the answer is “this wall has five years left and you are selling in two”, we will tell you that too.